
Site Plan to Scale: The Complete Guide to Creating Accurate, Professional Site Plans
Learn how to create a site plan to scale with Niubx. Discover steps, tools, and tips for accurate, professional site plans.
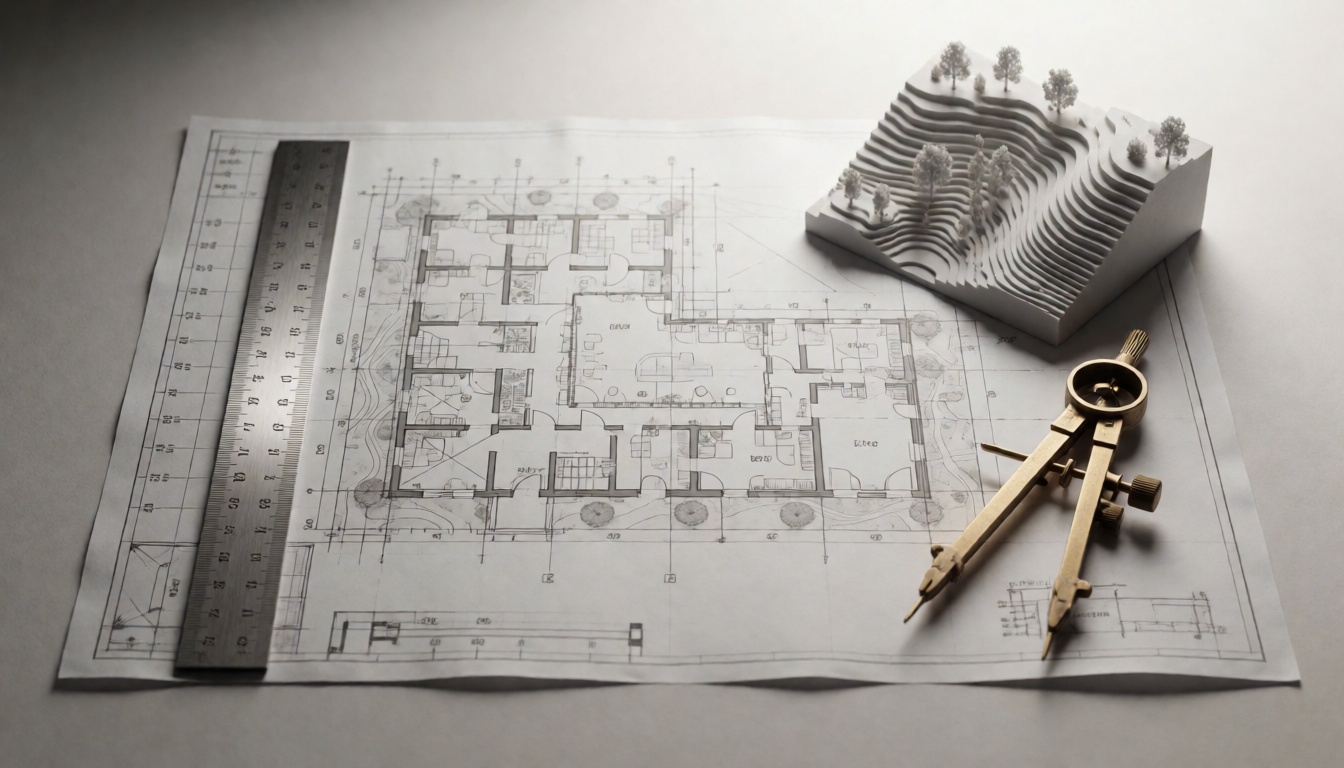
What Is a Site Plan to Scale?
A site plan to scale is a two-dimensional graphical representation of a property or development area, drawn using a consistent ratio that translates real-world measurements into a manageable, readable format. In essence, every inch, centimeter, or unit on your drawing corresponds to a fixed real-world distance—such as 1 inch equaling 10 feet or 1:100 metric scale. This consistency allows architects, engineers, contractors, and local planning authorities to visualize exactly where structures will sit, how they relate to property boundaries, and how the land itself influences development.
Without a true scale, a site plan is just a sketch. With it, your document becomes a legally meaningful, construction-ready tool. Common scales vary depending on the size and complexity of the property: residential lots often use 1 inch = 10, 20, or 30 feet, while larger commercial or agricultural tracts might use 1 inch = 50 or 100 feet. In metric contexts, ratios like 1:100, 1:200, and 1:500 are standard. Choosing the right scale is a balancing act—you want enough detail to clearly show structures and utilities, but not so much that the drawing becomes cluttered or impossible to read on standard paper sizes.
Why Scale Accuracy Matters in Site Planning
Scale accuracy is not a technicality; it is the foundation of every decision that follows. A site plan to scale ensures buildings, driveways, parking areas, and utility lines are placed correctly on the property, respecting legal boundaries and physical constraints. When every measurement is true to life, you can confidently compute setbacks, verify compliance with zoning ordinances, and avoid encroachments onto easements or neighboring land.
The cost of inaccuracy is enormous. During construction, even a small scaling error can result in a foundation poured in the wrong location, utility lines crossing where they shouldn't, or drainage systems that fail because slopes were misrepresented. Local permitting departments routinely reject plans that lack a proper scale bar or that contain inconsistent ratios, which delays approval and racks up expensive revision cycles. Beyond compliance, an accurate plan builds trust. Clients, engineers, and municipal reviewers can rely on your work because it reflects a disciplined, professional approach to measurement and representation.
Key Elements of an Accurate Site Plan
A professional site plan to scale is far more than a simple drawing of a building footprint. It is a comprehensive document that captures the full context of a property. Key elements include:
- Property boundaries and dimensions: The exact legal boundary lines of the lot, with lengths and bearings noted from a recent survey.
- Setbacks and easements: Required building setbacks from property lines, as well as any utility easements, conservation easements, or right-of-way restrictions that affect where you can build.
- Existing and proposed structures: All current structures on the property, drawn to scale, plus the proposed improvements, with dimensions and distances from the property lines clearly marked.
- Topography and vegetation: Contour lines showing elevation changes, significant trees, and other natural features that influence grading, drainage, and placement.
- Drainage patterns: Arrows indicating how rainwater flows across the property, along with any detention basins, swales, or stormwater management features.
- Utility lines: Overhead and underground utilities including water, sewer, gas, electric, and communications lines, along with their connection points.
- Parking areas and access points: Driveways, walks, parking stalls, and curb cuts, with dimensions and turning radii where relevant.
Each of these elements must be rendered consistently with the same scale, and the plan should also include a north arrow, a scale bar, and a title block containing the property address, owner name, project number, and revision date.
Tools and Software for Drawing Site Plans to Scale
Gone are the days when site plans were hand-drafted on vellum with parallel bars and lettering guides. Today, a wide range of digital tools allows you to produce precise, professional plans quickly and iteratively.
- CAD software: Programs like AutoCAD and Revit remain the industry standard for detailed drafting, offering robust scale management, layer-based drawing, and precise dimensioning.
- GIS tools: Geographic Information Systems such as ArcGIS or QGIS are invaluable for accessing parcel data, zoning layers, aerial imagery, and topographic maps that can be imported directly into your plan.
- Online site plan platforms: Web-based services offer user-friendly interfaces with drag-and-drop components, making them accessible to homeowners, small contractors, and design-build firms that do not need the full power of CAD.
- Field data collection: Accurate plans begin with accurate measurements. Laser measuring tapes, GPS receivers, and drone surveys equipped with photogrammetry or LiDAR provide the raw data you need to create a true-to-life representation.
No matter which tool you choose, the goal is the same: translate real-world conditions into a consistent, reliable scale. If you are also generating documentation, reports, or digital content around your projects, tools like the Niubx Autopilot SEO Content Engine can help you streamline how you present and publish your expertise online.
Step-by-Step Guide to Create a Site Plan to Scale
Creating a site plan to scale is a methodical process that rewards careful preparation and verification. Follow these steps to produce a professional result.
1. Gather Property Data, Surveys, and Zoning Requirements
Start with the raw materials: a recent boundary survey, any existing site plans or as-built drawings, and the local zoning ordinance that applies to your property. Note the required setbacks, maximum floor area ratio, height limits, and any overlay districts that impose additional restrictions.
2. Set the Drawing Scale and Establish Reference Points
Decide on a scale that fits your property and its level of detail, then establish a known reference point—such as a property corner or a benchmark—from which all other measurements are calculated. If you are working in a digital tool, input the scale directly into the program settings so that all subsequent drawings are automatically converted.
3. Draw Existing Conditions
Begin with the base layer: property boundaries, easements, topography, existing vegetation, and any current structures. This provides a clear picture of what you are working with and highlights constraints that will shape your design.
4. Add Proposed Improvements
Overlay your proposed buildings, driveway locations, utility runs, and landscaping features. Use separate layers or colors to distinguish new construction from existing conditions. This is where you can explore design options while ensuring your proposed structures stay within setbacks and easements.
5. Mark All Dimensions, Labels, North Arrow, and Title Block
Every important feature needs a dimension, and every dimension needs to be legible. Add a clear north arrow, a graphic scale bar, and labels for all structures, roads, and significant natural features. Complete the drawing with a title block that identifies the project and contains the essential metadata.
6. Review and Verify Measurements Before Finalizing
Cross-check your drawing against the survey and any field measurements you collected. Look for missing dimensions, inconsistent scale references, or elements that overlap in ways that do not make sense in the real world. A peer review by a second set of eyes can catch issues you would otherwise miss.
Common Mistakes to Avoid When Scaling Site Plans
Even experienced professionals can fall into traps when creating scaled site plans. Here are the most common pitfalls to watch for:
- Using inconsistent scale ratios or mixing units: Switching between feet and inches, or using a different scale for different parts of the drawing, is a recipe for disaster. Always use one unit system and one scale throughout.
- Forgetting critical setback lines and easements: Building a structure to the edge of a setback line is common, but forgetting to include an easement can mean your building lands on top of a utility right-of-way.
- Ignoring terrain and drainage impacts: A flat site plan can be perfect on paper but disastrous in real life if the actual topography channels water toward the foundation. Always incorporate contours and drainage patterns.
- Failing to double-check measurements against site surveys: Relying on memory, old drawings, or approximate measurements can introduce serious errors. Always verify against the most recent survey data.
How Niubx Helps You Create Site Plans to Scale
At Niubx, we understand that professionals in architecture, construction, and land development spend as much time managing documents and communicating ideas as they do drawing. While our platform is not a replacement for CAD or GIS software, it provides a powerful suite of tools to support the broader workflow around your site planning projects.
Our Scale Plan is designed for users who need predictable access to premium features, whether you are drafting new plans, collaborating with clients, or storing multiple project versions. With flexible pricing that grows alongside your work, the Starter Plan is perfect for independent designers and small firms just getting their workflows organized. If you run an e-commerce business selling site planning services, design products, or drafting templates, our Shopify Plugin and WordPress Plugin integrate seamlessly with your online presence, helping you capture leads and showcase your portfolio with optimized content.
Niubx also supports the content side of your practice. Publishing case studies, how-to guides, and project breakdowns is essential for attracting clients, and our platform helps you rank higher with data-driven insights. For example, you can learn how to structure your technical articles by reading our SEO Content Optimization Tool: The Complete Niubx Guide to Rank Higher in 2025. If you rely on WordPress for your business site, check out The Ultimate Guide to WordPress Plugins: How to Choose, Install, and Manage Them for Maximum Performance or the WordPress Module Plugin: The Complete Guide to Features, Benefits, and Selection to keep your site running smoothly.
Final Thoughts on Site Plan to Scale
A site plan to scale is an indispensable document for any property development project. It translates an abstract vision into measurable, buildable reality, protects you from costly errors, and ensures that your project meets local regulations and professional standards. By understanding the principles of scale, using the right tools, and following a disciplined workflow, you can produce site plans that win approval, guide construction, and serve your clients well.
Whether you are a seasoned professional or a property owner tackling a first project, the effort you put into accurate scaling pays dividends at every stage—from permit approval to the final walkthrough. And when it comes to managing the digital side of your practice, Niubx has the tools to help you document, publish, and grow.