
How to Choose the Right Scale for Site Plans: A Complete Guide
Learn how to choose and use the right scale for site plan drawings. A practical guide to common scales, accuracy tips, and Niubx tools.
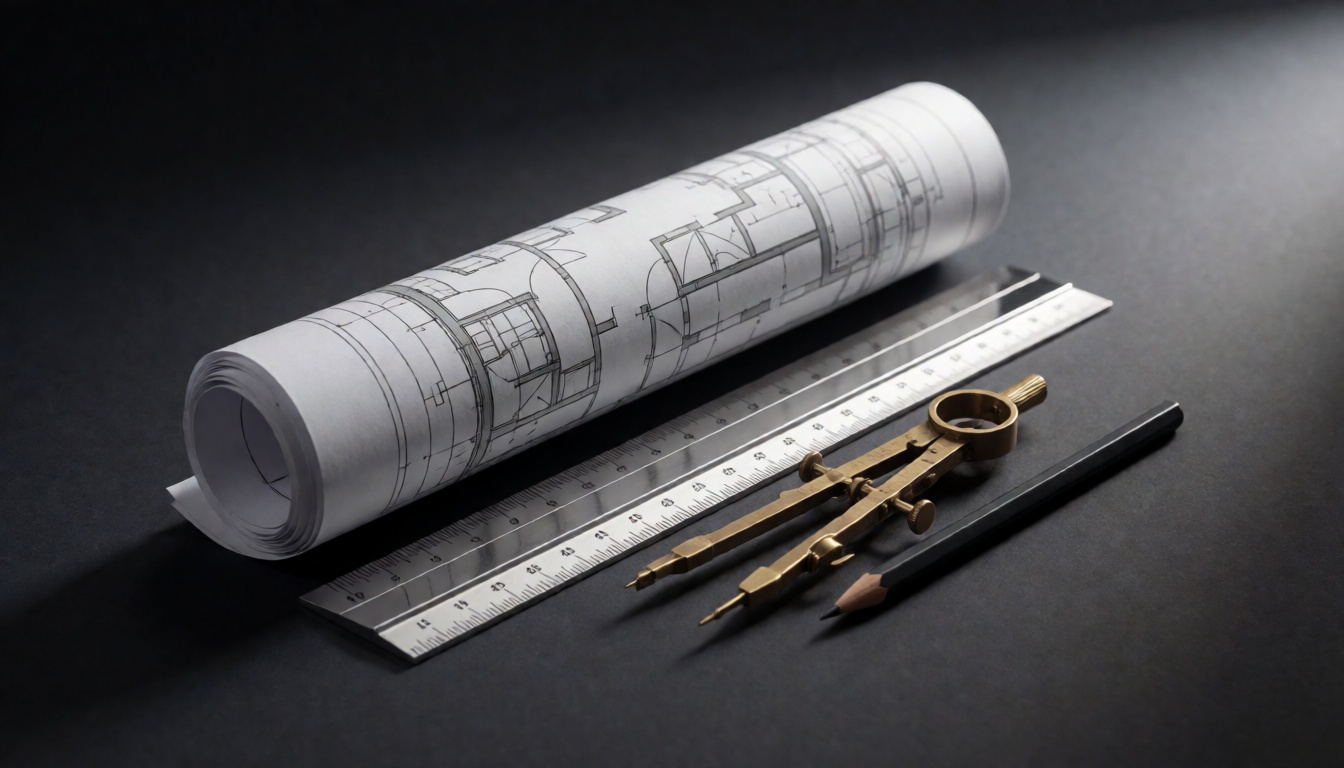
What Does Scale for Site Plan Mean?
A scale for site plan is the mathematical ratio that defines the relationship between a drawing’s dimensions and the actual dimensions of the property or site it represents. For example, a scale of 1:100 means that every 1 unit on the drawing equals 100 units in the real world. This precision is the backbone of architectural, engineering, and planning documents.
Without a clearly defined scale for site plan, even the most beautifully rendered design becomes little more than an artistic sketch. A consistent scale ensures that property boundaries, building footprints, driveways, landscaping, utility lines, and setback zones are communicated accurately. When everyone—architect, surveyor, contractor, and zoning reviewer—interprets a drawing through the same lens, project coordination becomes infinitely smoother.
Why Choosing the Right Site Plan Scale Matters
The scale you choose isn’t just a technical detail; it directly impacts how your site plan is interpreted, reviewed, and built. Imagine submitting a zoning application with a site plan that compresses the building footprint too small or inflates the setback lines. The result? Delays, rejection letters, and potentially expensive redesigns.
An accurate scale for site plan protects you from costly mistakes in multiple areas:
- Zoning compliance: Municipal approvals require that all structures and setbacks be shown to scale. A wrong scale can misrepresent compliance and trigger re-submission.
- Construction accuracy: Contractors rely on scaled measurements to lay out foundations, roads, and utilities. Errors in scale translate to errors on the ground.
- Landscape and hardscape design: Planting distances, patio sizes, and drainage slopes all depend on a reliable scale.
- Client communication: A site plan that is visually clear and correctly scaled builds trust. It shows that you have a professional command of the project.
When stakeholders share a common understanding of a project’s true size and layout, you reduce the risk of misunderstandings, rework, and budget overruns.
Standard Scales Used in Site Plans
Depending on the project type and the size of the area being represented, different scales are considered standard practice. Knowing which scale for Site Plan To use in each context is a core skill for drafters and designers.
Architectural Site Plans
Architectural site plans focus on a single building and its immediate surroundings. They often need to show detailed relationships between walls, entrances, driveways, and landscaping. Standard scales include:
- 1:100 – Suited for small residential plots where you need to show detailed site features, such as patios, fences, and exact building footprints.
- 1:200 – The most common scale for a typical house or small commercial building on a moderately sized lot.
- 1:500 – Useful for larger architectural projects that still require a reasonable level of detail, such as apartment complexes or small business parks.
Civil and Landscape Site Plans
When the project covers a large area—like a subdivision, shopping center, or municipal park—you need a smaller scale to fit the entire project onto a manageable sheet. Standard scales include:
- 1:500 – A bridge between architectural and civil needs, often used for landscape master plans and small-site grading plans.
- 1:1000 – Typical for larger development sites, utility route plans, and topographical surveys.
- 1:2000 – Used for regional planning, large master plans, and environmental impact assessments where broad context matters more than minute detail.
Selecting the proper scale for site plan is about balancing clarity with context. Too large a scale on a vast property means you can’t see the whole site, while too small a scale makes meaningful detail impossible to read.
How to Calculate the Scale for a Site Plan
Calculating a scale isn’t complicated, but it requires care and consistency. The basic formula is:
Scale = Drawing Distance ÷ Real-World Distance
All units must be the same. If you’re working in metric, both sides of the equation should be in meters or millimeters. For imperial projects, use feet or inches consistently.
Here’s a step-by-step process to set your scale manually:
- Measure the real-world site width – For example, a property is 60 meters wide.
- Decide the drawing size – You want the site plan to fit on a 30 cm wide sheet.
- Convert drawing size to real units – 30 cm = 0.3 meters.
- Divide the real distance by the drawing distance – 60 ÷ 0.3 = 200.
- Express as a ratio – The scale is 1:200.
But manual calculation is only the beginning. Most modern site plans are drafted in CAD or BIM software, where you can set the scale digitally. However, it’s still essential to verify the output. A scale ruler is your best friend for checking printed plans. Always compare several dimensions on the drawing against the scale ruler to catch any discrepancies before the plan goes out.
Pro tip: When you print a site plan, never rely on “fit to page” settings. Always check that the actual print output matches the stated scale, because printer scaling can silently distort your work.
Once you have a reliable scale in place, you can produce plans that are truly dimensionally accurate. The goal is to make every measurement traceable back to that ratio.
Best Practices for Presenting Scaled Site Plans
A well-scaled site plan is more than a set of lines—it’s a communication tool. To make sure your plan is clear and professional, follow these presentation best practices:
- Always add a graphic scale bar. Even if you state the ratio numerically, a scale bar remains accurate if the plan is enlarged or reduced. This is a lifesaver for digital reviews and on-site file sharing.
- Label the scale clearly. Place the scale near the title block and again on the main sheet if the plan is complex.
- Use consistent line weights. Heavy lines for building outlines, medium lines for property boundaries, and light lines for topographical details improve readability.
- Standardize symbols. Create or follow a legend that identifies trees, utilities, pavement, contour lines, and adjacent properties.
- Include a north arrow. Orientation is critical for site planning, especially for solar exposure, drainage, and accessibility routes.
- Verify annotations. All dimensions, notes, and callouts should reference the same scale so that no one has to guess.
These best practices may seem basic, but they are frequently overlooked. A polished, correctly scaled site plan sets the tone for the entire project. It tells stakeholders that you care about precision and you understand the professional standards expected in the industry.
How Niubx Can Help with Your Scaled Site Plans
Creating accurate site plans and scale models is only the beginning. For architects, developers, and real estate professionals, presenting those plans effectively is equally important. That’s where Niubx comes in.
Niubx provides precise scale models and site plan representations that help you communicate your project’s vision to investors, clients, and municipal reviewers. With customizable options for materials, detail levels, and presentation formats, you can tailor every model to match the specific needs of your project. Whether you need a physical presentation model or a highly detailed digital replica, Niubx gives you the flexibility to choose the right approach.
Of course, site plans don’t exist in a vacuum. You also need to market your projects and attract clients. That’s why Niubx offers more than just physical modeling services. With the Niubx Autopilot SEO Content Engine, you can create high-ranking content that showcases your projects, informs potential clients, and drives organic traffic to your portfolio. The platform is designed to support businesses that want to grow through search visibility without spending endless hours on manual content creation.
If you’re ready to elevate your site plan presentations and digital marketing, consider the Starter Plan to access the core features you need right away. For those who want a broader SEO solution, the Scale Plan offers a balanced mix of content automation and optimization tools, perfect for architecture and real estate firms scaling up their online presence.
Niubx also integrates seamlessly with popular website platforms. If you run your practice through WordPress, the WordPress Plugin lets you manage SEO and content updates directly where you create your blog posts and project pages. For e-commerce or booking-focused sites, the Shopify Plugin brings the same power to your store, helping you turn site visitors into paying clients.
To get the most out of your content strategy, you might also want to learn about current SEO practices. Read the SEO Content Optimization Tool: The Complete Niubx Guide to Rank Higher in 2025 to understand how content quality and technical optimization go hand in hand. And if your website runs on WordPress, don’t miss the Ultimate Guide to WordPress Plugins to keep your plugin stack lean and high-performing. For a deeper dive into plugin management, check out The Ultimate WordPress Plugin Guide and the Ultimate WordPress WP Plugin Guide. And if you’re building more advanced features, the WordPress Module Plugin is a great resource to help you decide which solutions fit your workflow.
In the end, the right scale for site plan is not just a technical specification—it’s the foundation for clear communication, professional integrity, and successful project delivery. Whether you are drafting a small residential permit or a massive mixed-use development, precision and presentation go hand in hand. And with the right tools, from CAD software to Niubx’s scale models and SEO automation, you can ensure that every part of your project is represented accurately and attractively to the right audience.