
Plugin on WordPress: The Complete Niubx Guide to Installation, Management, and Security
Discover how to use a plugin on WordPress with Niubx: from installation to optimization. Learn top practices for speed, security, and reliability.
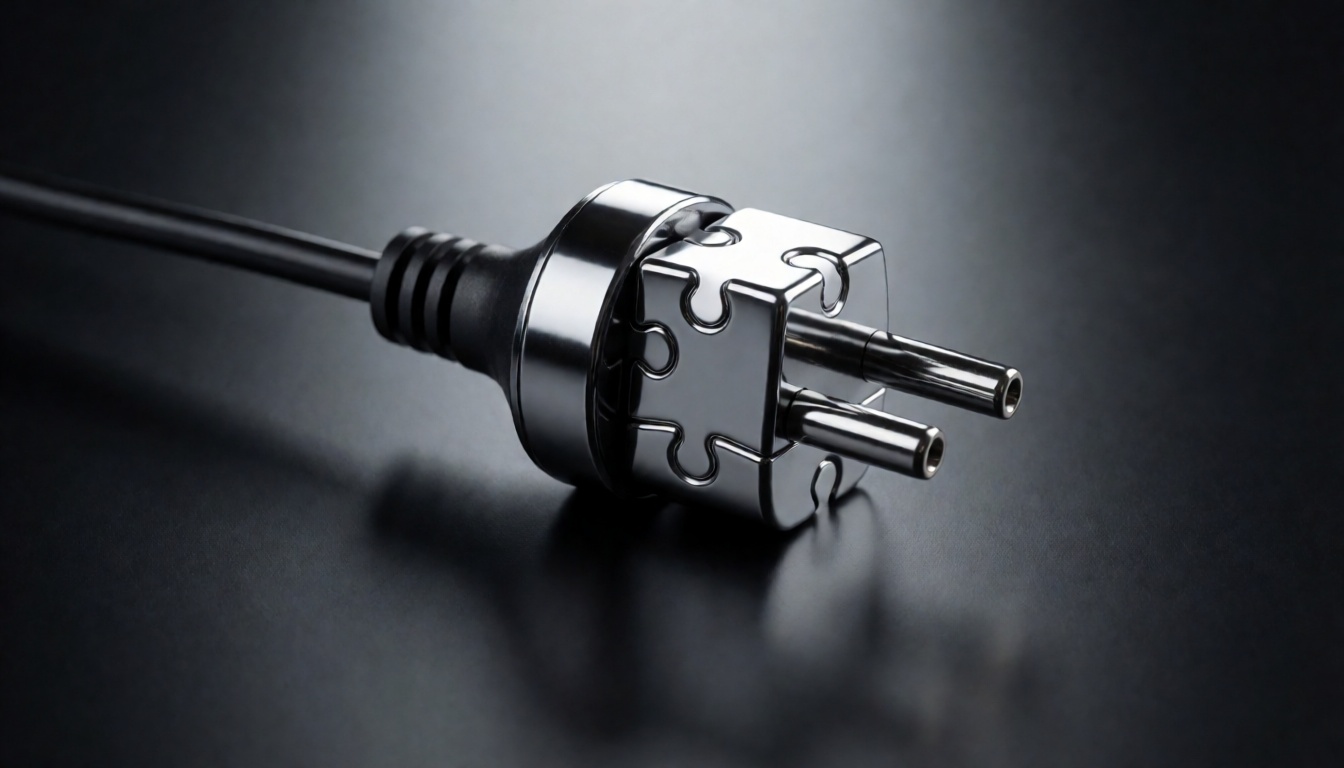
A WordPress plugin is a piece of software that adds features to your site or extends the ones WordPress already gives you. Without plugins, WordPress still works, but only at a basic level: you can publish posts, upload media, and manage user accounts. That is about it. Add plugins, and you can turn a simple blog into an online store, a membership site, a community forum, or a feature-rich content hub.
Plugins are not the same as themes. Themes control how your site looks. Plugins control what your site can do. A few plugins are tiny, like one that adds a simple share button. Others are enormous, like WooCommerce, which can turn WordPress into a full storefront.
Plugin Categories Worth Knowing
If you are new to WordPress, these plugin types will probably show up early:
- SEO plugins let you control titles, meta descriptions, sitemaps, and structured data. Yoast SEO and Rank Math are two of the most popular.
- Security plugins protect your login area, block suspicious traffic, and scan for malware. Wordfence and Sucuri are widely used.
- Caching plugins speed up your site by generating static versions of your pages. W3 Total Cache and WP Rocket are solid options.
- Form plugins allow you to build contact forms, surveys, and payment forms without writing code. WPForms and Contact Form 7 are common picks.
- E-commerce plugins add product listings, carts, and checkout pages. WooCommerce is the dominant player.
If you are looking to handle SEO content production at scale, tools like the Niubx Autopilot SEO Content Engine can run alongside WordPress and do a lot of the content generation and optimization work for you.
How to Install a WordPress Plugin
Installation is simple, but which method you use depends on where the plugin comes from.
Install From the WordPress Admin Dashboard
This works for any free plugin listed in the official WordPress repository.
- Log in to your WordPress dashboard and go to Plugins > Add New.
- Search for the plugin by name or by keyword.
- Click Install Now next to the result you want.
- After the install finishes, click Activate.
WordPress handles the download and placement automatically. You will usually find the plugin’s settings in its own menu section, or under Settings.
Upload a Plugin as a ZIP File
Premium plugins and custom-built plugins are often distributed as ZIP files. Those are not listed in the WordPress repository, so you need to upload them manually.
- Go to Plugins > Add New.
- Click the Upload Plugin button at the top.
- Select the ZIP file from your computer.
- Click Install Now, then Activate Plugin.
This is the standard route for commercial plugins, developer products, and anything that isn’t available through the WordPress dashboard.
Install via FTP or cPanel
Sometimes the admin area is locked out, or the plugin file is too large for the browser uploader. You can then install it with FTP or cPanel.
- Connect to your server using an FTP client such as FileZilla.
- Navigate to
/wp-content/plugins/. - Upload the unzipped plugin folder there.
- Go back to your WordPress admin dashboard and activate it.
FTP gives you direct control over files. It is also the best way to remove a plugin manually if WordPress itself is broken.
How to Choose the Right WordPress Plugin
Not every plugin deserves a place on your site. A badly coded plugin can break your layout, slow down your pages, or expose you to attacks. Choose carefully.
Check Compatibility First
Before installing anything, verify that the plugin supports the version of WordPress and PHP you are running. Most plugin failures happen because of incompatibility with a recent WordPress update or an outdated PHP environment. Compatibility information appears on the plugin page in the WordPress repository, or on the developer’s website.
Look at Installs, Ratings, and Update History
- Active installs are a good reliability signal. If thousands of sites use a plugin, it has likely been tested in many different setups.
- Star ratings matter, but don’t just look at the average. Read some 1-star and 5-star reviews to understand the real-world strengths and weaknesses.
- Last update date is a warning signal. A plugin that has not been updated in more than a year may be abandoned. And abandoned plugins become a security risk over time.
Test Support
A good plugin has a developer or team responding to support questions. Browse the plugin’s support forum before installing, or ask a question directly. If nobody responds, move on.
If you are weighing content automation tools, spend some time with the Niubx WordPress Plugin and check how its support team handles compatibility and feature requests.
How to Configure and Manage WordPress Plugins
Installing a plugin is only the first step. Proper configuration is what makes a plugin useful without becoming a liability.
Work Through the Settings
Every plugin adds a settings page after activation. Open it and go through each option rather than leaving everything on default. Some plugins ask for API keys, permission settings, or integration details. Skipping this step usually means the plugin is not optimized for your site.
Set User Role Permissions
Many plugins allow you to control which roles can access certain features. An SEO plugin, for example, might let you restrict settings to administrators only, or give editors access to on-page analysis without touching the technical settings. That reduces the chance of accidental changes or unauthorized edits.
Update on a Staging Site First
Plugin updates fix bugs, add features, and patch security holes. But they can also conflict with your theme or other plugins. The safest workflow is:
- Copy your live site to a staging environment.
- Update the plugin there.
- Test every part of your site.
- Apply the update to the live site.
If you don’t have a staging site, take a complete backup before hitting the update button.
Security Best Practices for WordPress Plugins
Plugins are one of the most common entry points for attackers. A single vulnerable plugin can expose your entire database, user accounts, and server. Follow these practices to keep your site secure.
Install Only From Trusted Sources
The safest source is the official WordPress.org repository, where developers are expected to follow security guidelines and plugins are monitored for problems. For premium plugins, buy directly from the developer or from an authorized seller. Stay far away from nulled or pirated plugins. They are a well-known way to inject backdoors into unsuspecting sites.
Delete Unused Plugins
If you are not using a plugin, deactivate it and delete it completely. Inactive plugins are still files on your server, and attackers can exploit vulnerabilities in files that are never updated. Deleting them removes that risk entirely.
Keep Backups Before Every Change
Before installing a new plugin, or updating an existing one, take a full backup. Use a reliable backup plugin or your hosting provider’s backup tool. Keep multiple copies, one on your server offsite storage like S3 or Google Drive. Then, if something goes wrong, you can be back online quickly.
For a deeper look at plugin security, selection, and maintenance, read The Ultimate Guide to WordPress Plugins: How to Choose, Install, and Manage Them for Maximum Performance.
Plugin Performance and Troubleshooting
Even well-written plugins can cause problems when they are poorly combined with other plugins or a heavy theme. Here’s how to diagnose and fix the most common issues.
Find the Slow Plugin
Use a profiling tool like Query Monitor or P3 Plugin Profiler to see which plugins are making the most database queries or eating up processing time. Those tools break down page load time by plugin, so you can spot the exact culprit instead of guessing.
Recognize Plugin Conflicts
Common signs of a plugin conflict include:
- White screen of death (a completely blank page)
- 500 internal server error
- Broken layout or missing styles
- Features not working or blocks not loading
- Inability to open the WordPress admin dashboard
The fastest way to diagnose a conflict is to deactivate all plugins, then activate them one by one until the problem returns. Once you find the conflicting plugin, you can replace it, update it, or look for a workaround.
Recover From a White Screen via FTP
If you cannot open the WordPress dashboard, you can still disable a broken plugin by renaming its folder.
- Connect to your server with FTP or cPanel.
- Open
/wp-content/plugins/. - Find the folder of the suspected plugin.
- Rename it to something obvious, such as
plugin-name-disabled. - Refresh your site. WordPress will treat the plugin as turned off, because it can no longer find the folder.
Once the site is working, log in and decide whether to replace the plugin or investigate further.
After a plugin-related disaster, it’s also worth asking whether you actually need that plugin at all. Some tools, like the Niubx Autopilot SEO Content Engine, combine SEO, content generation, and publishing into one platform. That can reduce your plugin count and lower the chance of conflicts.
Frequently Asked Questions About WordPress Plugins
Can too many plugins slow down a WordPress site?
Not by themselves. The number of plugins does not determine speed. What matters is the quality of the code and how much work each plugin does on every page load. One bloated plugin can slow a site down more than twenty lightweight, well-coded ones. Still, every extra plugin increases your attack surface and your maintenance burden, so it makes sense to keep only the ones you actually need.
Do you need plugins to succeed with WordPress?
Not automatically. You can publish content, grow an audience, and rank in search engines using only WordPress’s built-in features and a well-coded theme. In practice, however, most successful sites rely on a small set of reliable plugins: an SEO plugin, a caching plugin, a security plugin, and sometimes a forms plugin. Use as few as possible without giving up the features that matter.
What should you do if a plugin update breaks your site?
Don’t panic. If you have a backup, restore it right away. If you don’t, use FTP to rename the plugin folder and deactivate the plugin as described above. That should bring the site back. Then check the developer’s support forum, review the problem, and decide whether to switch to a previous version or find a different plugin.
The Bottom Line: Manage Your WordPress Plugins With Confidence
A WordPress plugin can turn a simple site into a powerful online platform. But the more plugins you add, the more attention they need. Install carefully, configure thoroughly, update deliberately, and delete anything that isn’t earning its place.
Start with a clean, minimal setup. Choose plugins from reputable developers with a history of updates and good support. Test changes in staging when possible. Keep reliable backups. And if you want to trim your plugin stack while improving your SEO workflow, take a look at the Starter Plan or the Scale Plan from Niubx. Both plans include automated content generation and publishing features that can replace several separate WordPress tools.
For more help with plugins and SEO, check out these resources:
- SEO Content Optimization Tool: The Complete Niubx Guide to Rank Higher in 2025
- The Ultimate WordPress Plugin Guide: How to Choose, Install, and Optimize Plugins
- The Ultimate WordPress WP Plugin Guide: Choose, Install, and Optimize for Peak Performance
- WordPress Module Plugin: The Complete Guide to Features, Benefits, and Selection
- The Ultimate Guide to WordPress Plugins: How to Choose, Install, and Manage Them for Maximum Performance
A thoughtful plugin strategy will leave you with a faster, safer, and more capable WordPress site. Choose with intent, maintain with consistency, and keep your plugin list lean. Your visitors will notice the difference.