
Floor Plan to Scale: The Complete Guide to Accurate Drawings
Learn how to create a floor plan to scale with exact measurements, tools, and tips. Master scale drawings for layouts, renovations, and design.
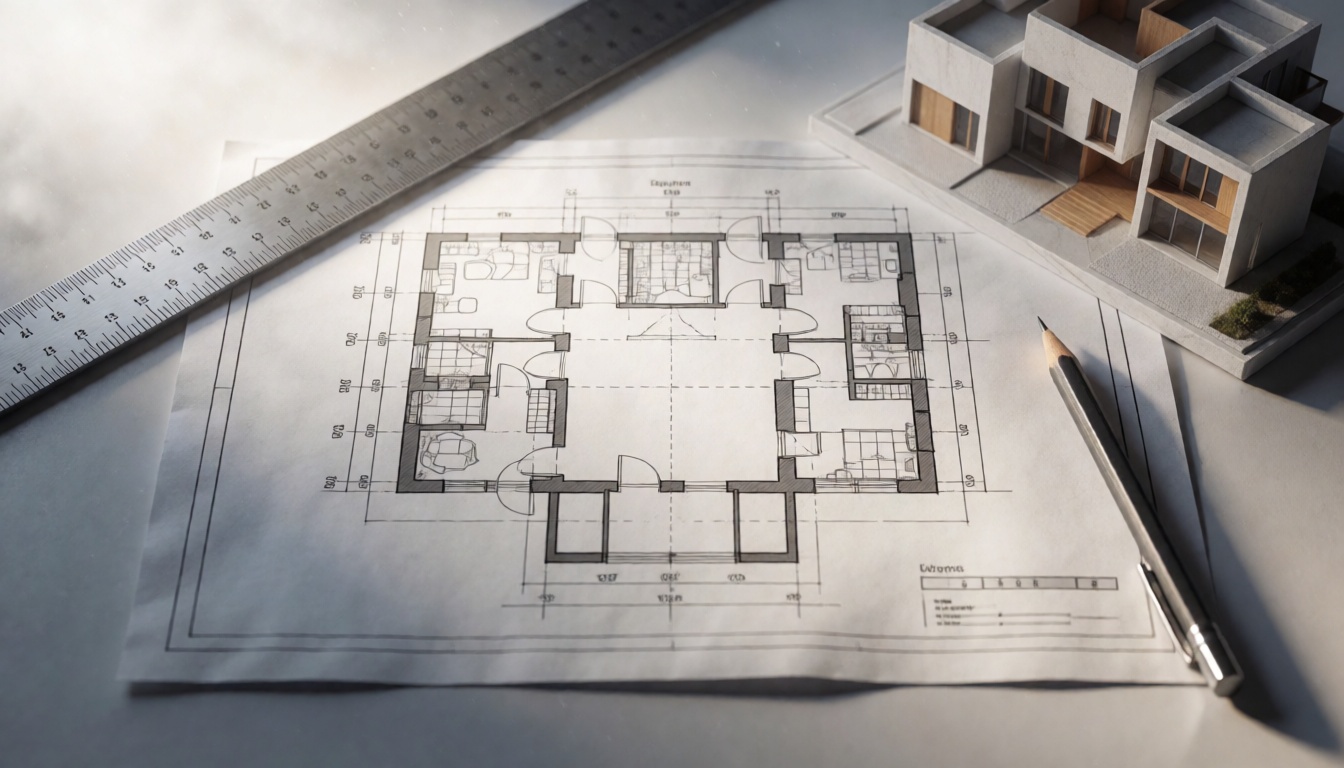
What Is a Floor Plan to Scale?
A floor plan to scale is a technical drawing where every real-world dimension—wall lengths, room widths, door openings, window positions—shrinks proportionally using a consistent ratio. Unlike a rough sketch that just suggests a layout, a scaled floor plan applies a defined unit of measurement to represent a larger space. Take the standard 1/4 inch = 1 foot scale: every quarter inch on paper equals one foot in the actual building.
These drawings are the backbone of architecture, interior design, and real estate. They let you visualize how a room will feel, test furniture arrangements before you commit to a single purchase, and communicate precise ideas to contractors, clients, or family members. A scaled floor plan is more than a picture—it's a data-rich document that turns ideas into buildable reality.
Because every element sits in proportional place, you can run a ruler across the paper and trust the numbers. That accuracy is what separates a real floor plan from a doodle. Walls, doors, windows, stairs, and built-ins all hold their correct relationships, giving you a true x-ray view of the space.
Why an Accurate Scale Matters
Getting the scale right isn't just a nice touch—it's essential. When you ask contractors for quotes, they depend on your floor plan to calculate labor, materials, and timelines. A plan that isn't properly scaled will produce unreliable estimates, which leads to budget overruns or material shortages. Crews can't build from a fuzzy sketch; they need exact dimensions they can measure and trust.
A correct scale also helps you catch problems before they become costly. Maybe the kitchen island you've been eyeing blocks the main walkway, or a queen bed won't fit in the guest bedroom without overlapping the closet. Spotting those issues on paper saves you from buying the wrong furniture or, worse, tearing out a freshly built wall.
Across the industry, scaled drawings keep everyone on the same page. Architects stamp them, contractors build from them, interior designers plan lighting and furnishings around them, and real estate agents use them to market properties. The shared language in every case is scale. When you produce a properly scaled plan, you instantly raise the professionalism of your project and cut down on miscommunication.
Standard Scale Ratios for Floor Plans
Choosing a scale is one of the first decisions you'll make, and it depends on the size of the space and whether you're working on paper or screen.
Standard architectural scales include:
- 1/4 inch = 1 foot — The go-to for residential floor plans in North America. It shows walls, doors, and windows clearly without demanding a giant sheet of paper.
- 1/50 (metric) — Common in Europe and Asia: one meter represented by 50 units on paper. Great for apartments and smaller homes.
- 1/100 (metric) — Used when the plan covers larger areas, like a full commercial floor, where overall layout matters more than small details.
- 1/8 inch = 1 foot — Handy for large houses or complex layouts that need to fit on a single sheet.
If you're working on A4 paper and the space is large, you might need 1/100 just to make everything fit. For a single room, a larger scale like 1/4 inch = 1 foot lets you show furniture and fixtures in richer detail.
An architectural scale ruler is worth its weight in gold here. It carries multiple ratios on its edges, so you can switch between feet, inches, and metric without doing arithmetic in your head. It eliminates the unit mix-ups that cause so many measurement errors.
How to Draw a Floor Plan to Scale Manually
You don't need expensive software to create an accurate floor plan. With basic drafting tools and careful measuring, you can produce a reliable drawing that any contractor can work from.
Start by measuring everything. Measure all walls, door openings, window widths and heights, plus fixed elements like radiators, columns, and built-ins. A laser measure or a solid tape measure works best. Write everything down in a notebook, including the thickness of interior and exterior walls. If you plan to show elevations later, note ceiling heights too—though for a standard floor plan, lengths and openings matter most.
Choose your scale and prep your paper. A simple example: if your space is 20 feet long and you have 10 inches of graph paper, the 1/4-inch scale fits perfectly—20 feet × 1/4 inch gives you exactly 5 inches.
Draw the exterior walls first. Lay out the outer perimeter using a straight edge, keeping lines crisp. Mark your corners and connect them, making sure everything stays parallel and perpendicular.
Add interior walls next. Give them their real thickness—typically 4 to 6 inches for partitions and 8 to 12 inches for exterior walls. Use a different line weight so interior walls read clearly.
Insert doors and windows. Place door and window symbols precisely, and draw swing arcs so you can see how doors move through the space. Standard architectural symbols work best, but even a clean, labeled representation serves well for most non-professional uses.
Finish with built-ins and labels. Add kitchen counters, tubs, stairs, and fireplaces. Label every room and include dimension lines between key points. A plan with total dimensions and room names is far more useful than an unlabeled drawing.
The Best Tools for Creating a Scaled Floor Plan
Manual drafting is a valuable skill, but most people reach for digital tools when they need speed and precision. The right choice depends on the project, your skill level, and your